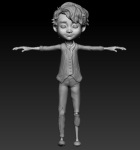
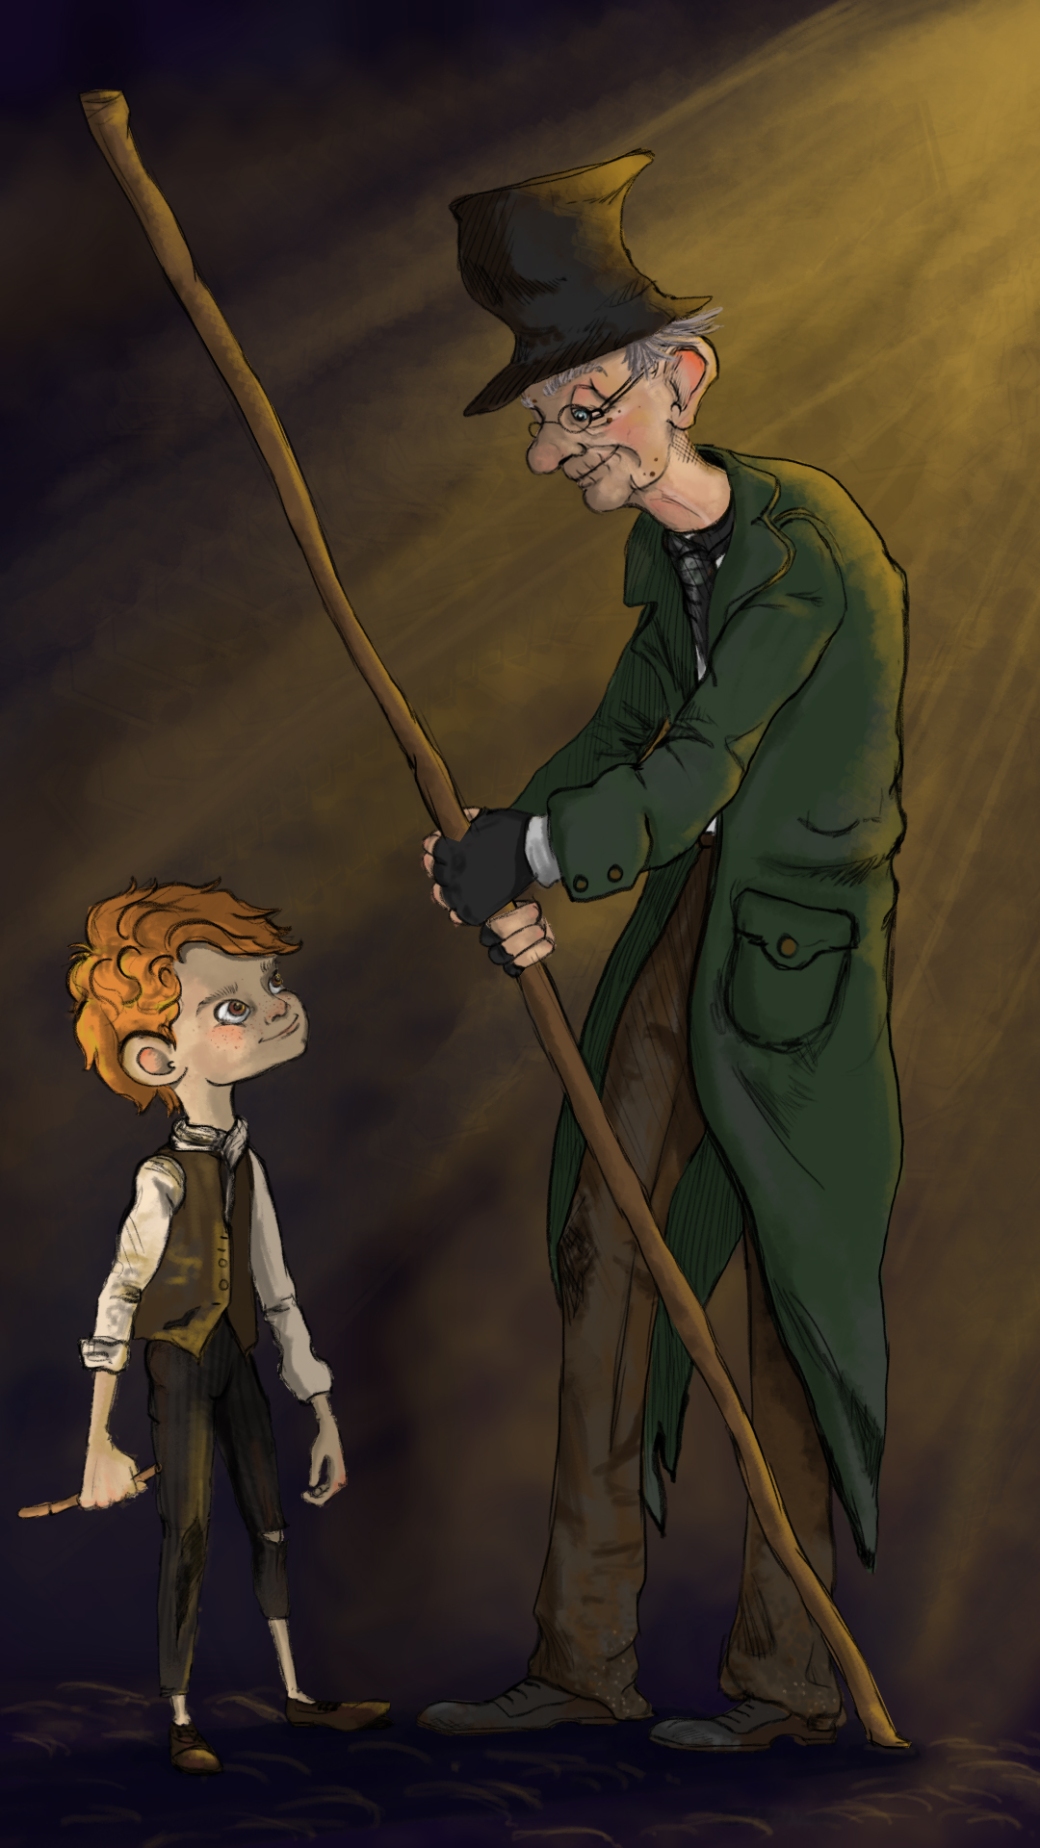
Samuel took a lot longer to work on as he was my first detailed 3D character.
Sculpting Inspiration:


Sculpt:


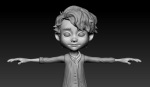
Retopologizing:


It was difficult modelling the inside of the mouth and I had to change it a few times to suit Andrew’s Rigging techniques, so each jaw was separate.


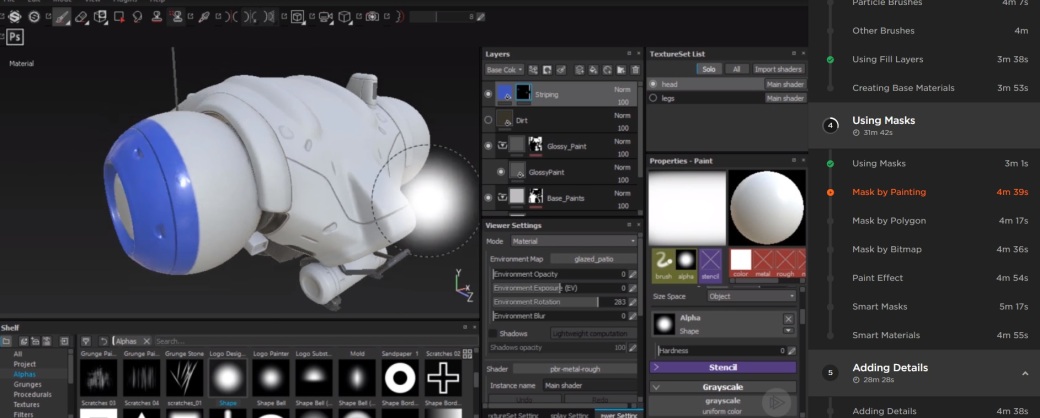
Texturing
I used Substance Painter for texturing the characters as it was a lot easier to handle. I imported my model (with different materials applied to different pieces of clothes etc) as an fbx file so that I could work on each object separate depending on what was necessary.
I had previously done a lot of research last summer with the digital tutors tutorial, ‘Substance Painter Fundamentals‘ by Victor Kam. I love how similar the layers work to photoshop with different blending modes. I also learnt a lot and brought my own photoshop brush in as an alpha to work with. One of the most useful things I learned was using fill layers and using an alpha mask to basically paint with so changes can easily be made just painting in black and white.
I had previously textured a sculpted and retopped tile I had made during placement year:
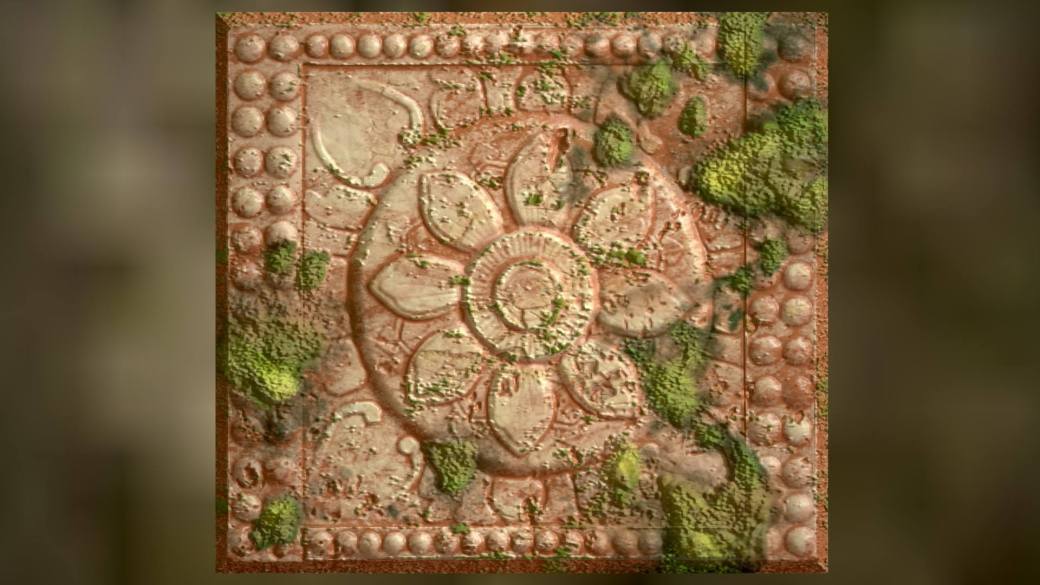
[sketchfab id=”fe9f91ece0664dca8e56203330c6717e”]
I tried to keep as close to my sketch as possible for texturing:
Texturing Progress within Substance Painter:


I had to lay out a lot of UV maps and my initial mistake was giving the shoes different uv tiles, but I remedied the rest by putting his outfit as one stand alone so we weren’t plugging in too many different maps and to save render time. It reduces texture space so much!


Texture Map Examples:
Outfit Maps: Base Color/ Roughness Map/ Normal Maps.
Normals were baked out using Maya and X-Normals and combined and painted over within Photoshop for each object.


Hair Maps:


Subsurface Scattering
Alec suggested that I try out subsurface scattering on the skin of my characters. I was keen to try it out.
Solid Angle really helped with this:

- ai standard surface material
- subsurface- scale. set to metres.
- Darker tones plugged into radius- bright orange/pink into ears and lobes/lips/nose/eyelids
- Color map plugged into subsurface color.
Samuel setup:

Color Map and Radius map created to plug in: The darker areas mean that less light will pass through

Results:
Initially I tried some dirt on his face, but it was far too much. I also had issues with the subsurface options so parts of him turned out very blue and dead but I fixed this by tweaking the scale.


