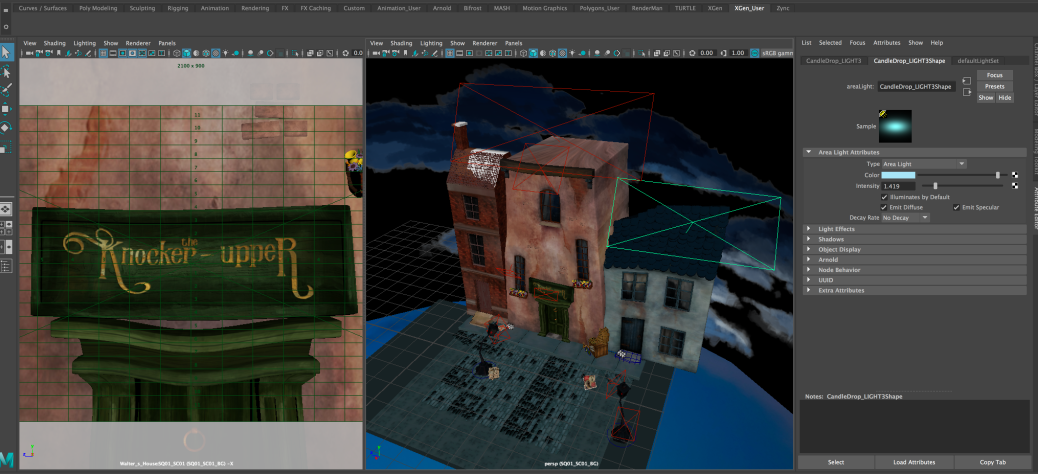
I completely lit every scene within our short, excluding the stick in one or two shots. I also lit the characters in every shot. Rachel did the complete setup for SQ01, excluding lights and completed SQ05 of which has to be changed and added to the final short film. She also did the base layout for SQ03/SQ04/SQ06/SQ07, of which I went in to change houses and add props and lights.
I studied lighting within arnold on solid angle and looked at changing shadow colors to make them cool at the beginning and warmer towards the end of our short film.
Psychology of Color in Film
These are the relevant colors I used throughout lighting our short film. I wanted a clear contrast with a cool night sky against the warmth of the lights, and the warmth within our story between our two characters. As seen above, orange represents warmth, friendship and happiness, so I used peach and orange lights throughout. Our short film goes from blue skies and warm street lamps to a warm sunrise. In our end shot, I used purple shadows to represent a sense of magic with warm skies and soft lighting.
Wes Anderson/ Robert Yeoman
The Grand Budapest Hotel (2014) was my main inspiration for lighting our scenes. I loved the saturated colors, and although our short film is not overly saturated, the colors are still very vibrant. The saturated colors represent a lively and happy environment. It catches the eye and is almost dream-like. I especially loved the contrasting peach street lamps against the cold, blue environment, especially against the cobblestones, however they reflect against them so clearly because the ground is wet.
Wes Anderson makes heavy use of symmetry throughout his films. He avoids angles where lines aren’t parallel and uses the rule of thirds. Wes tends to center his subjects in the middle of his shot but uses the thirds to create a stylistic imbalance on either side.
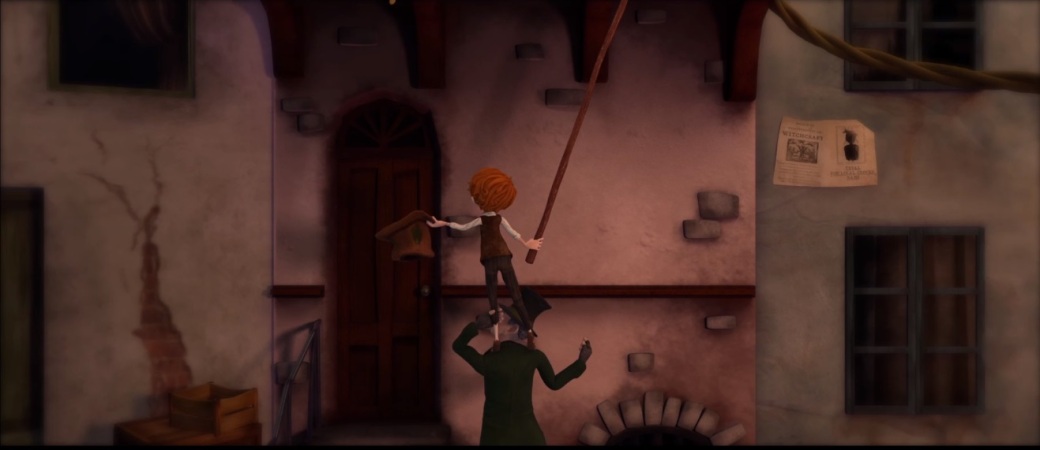
Rachel and I took great inspiration for the centered shots of Wes Anderson when subjects interacted with objects, such as shot 13 when the money falls into Walter’s hand :
Planning
Rachel added a lighting tab to our google sheets to show the completion for each shot. A sky tab was also added, however there was only a need for 6 setups, of which I finished 4 setups, and lit 5.
- Walter House setup (SQ01)
- Walter Walkthrough Street (SQ02)
- Main Street (SQ03)
- Forked Street (SQ04)
- Winding Street (SQ05)
- Final Street (SQ06/07) – Lighting was simply changed and two houses switched in for shot 26.


SQ01
Towards the beginning of our short, I used peach and orange lights from the street lamps, and some pale blue lights against the roof to represent moonlight. We have a pink house that I enhanced with peach lights to represent our warm short film and our sweet old character, Walter.

Final Render: Color Layer needs added to Greta’s roof on the left in editing

Final Render
SQ02
I completely set up this scene and lit it. Although Danny added some props, I ended up deleting and replacing most to frame the environment better. My main inspiration for this shot was a student film, Rubato:

Short film ‘Rubato’ (2016)
The layout of the cobblestones that I made was what took the longest when setting this scene up. I had to form them into a squarish shape and instance them numerous times. It was quite difficult to get them to form well along the curved pavements but I managed it in the end. We also re-used this floor for SQ06/SQ07 which was handy as it was also a flat ground.

Danny added props and assets


I changed props around and placed lamps and lights where necessary to light the ground and character, so I tried to place the focus towards the area where Walter walks. I also loved the chimney’s in the foreground in Rubato (2016) so added this to ours. I placed pale blue lights against them to represent moonlight. I thought this was a nice contrast to the warm lights on the street and character.
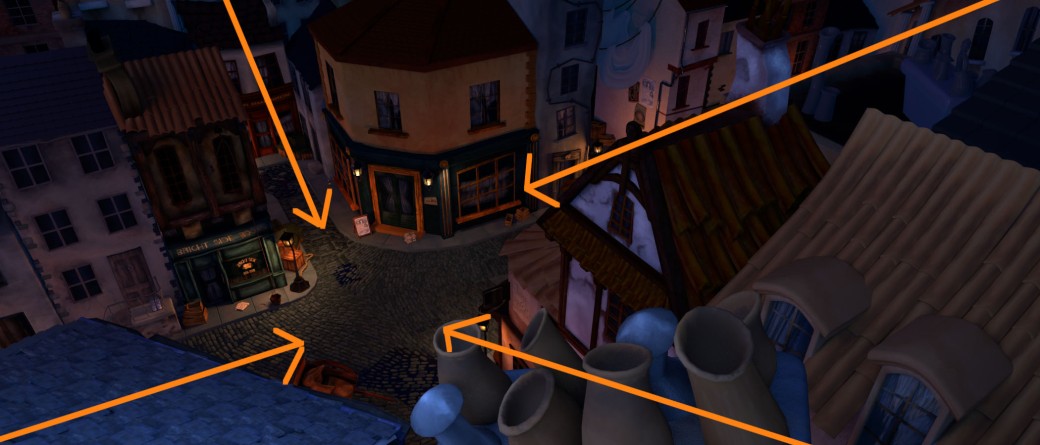
Leading Lines Played an important role throughout my setup as I wanted to frame the characters in each scene.
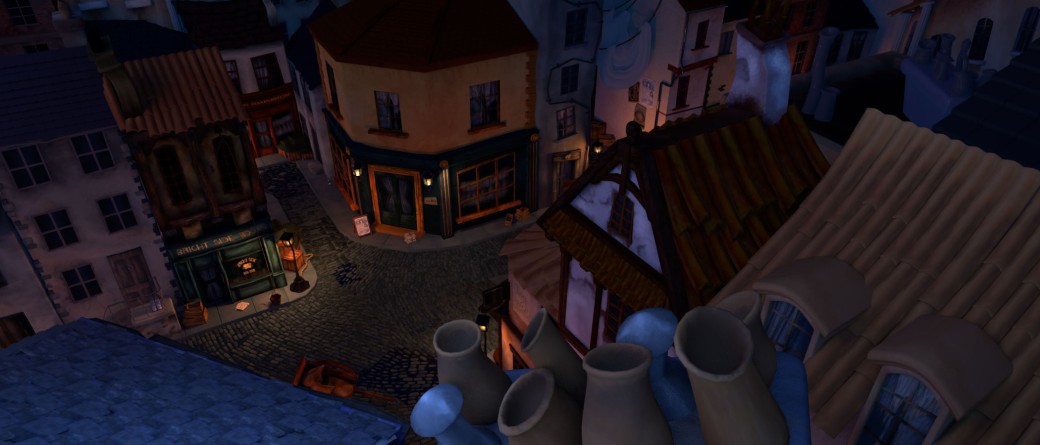
Final Background Render
Attempting to Light Walter:

Resulting Character Lighting

Rachel edited the character and background layer together and added depth of field
SQ03

Rachel’s Initial Setup for SQ03
I replaced a lot of the houses within this scene, and set up the props. It was difficult to get the lighting right in the alleyway scene. To make the area darker to take away from the hdr skydome lighting, I added a simple box to cover it and shade from the blue lights. I had to make the buildings in the distance look more realistic so added more blue lights to resemble them fading into the sky. Finalising the lighting:
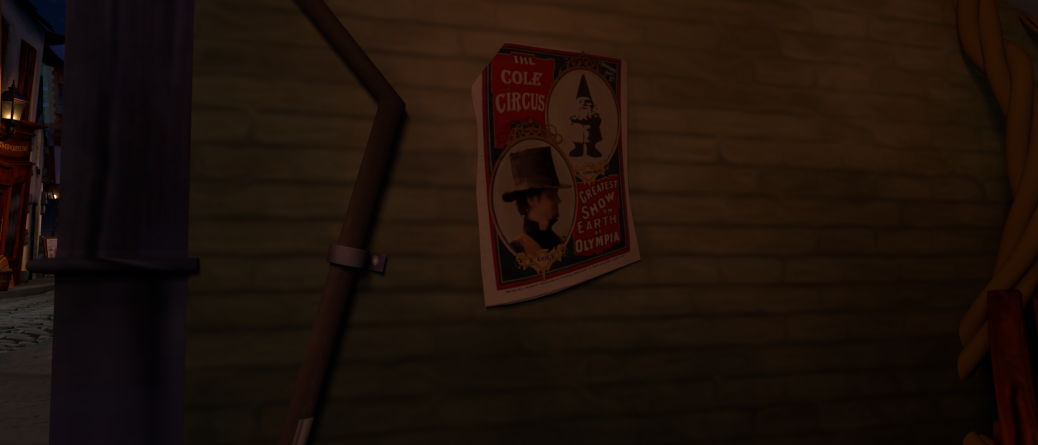


Final Background Lighting and Setup
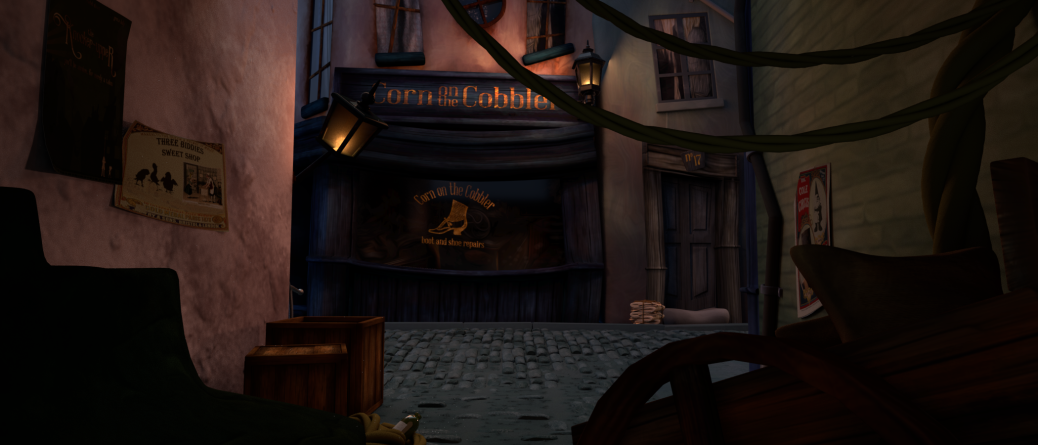
Initial lighting

Adding blue skies for window reflections
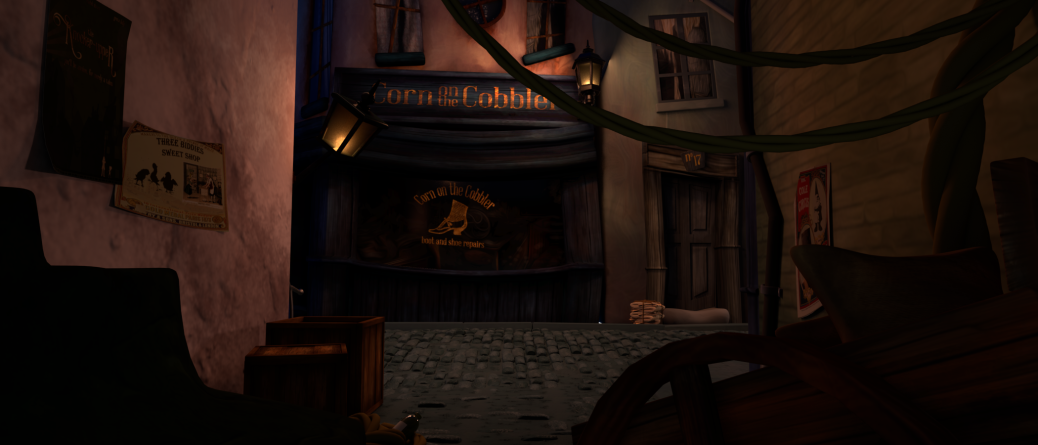
Warmer lights and shadows
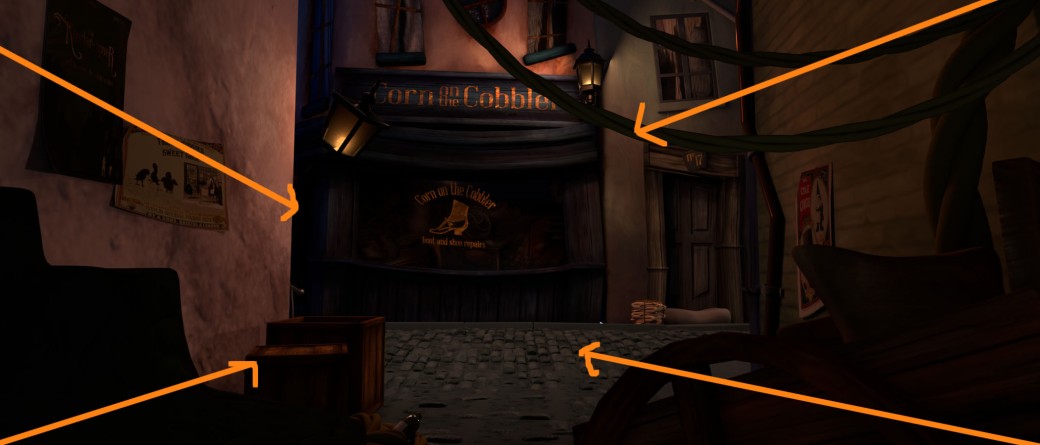
Within this shot, I used the props to form a frame leading the eye towards the focus of Samuel who will be beside the crates.

Final: Adding specular highlights
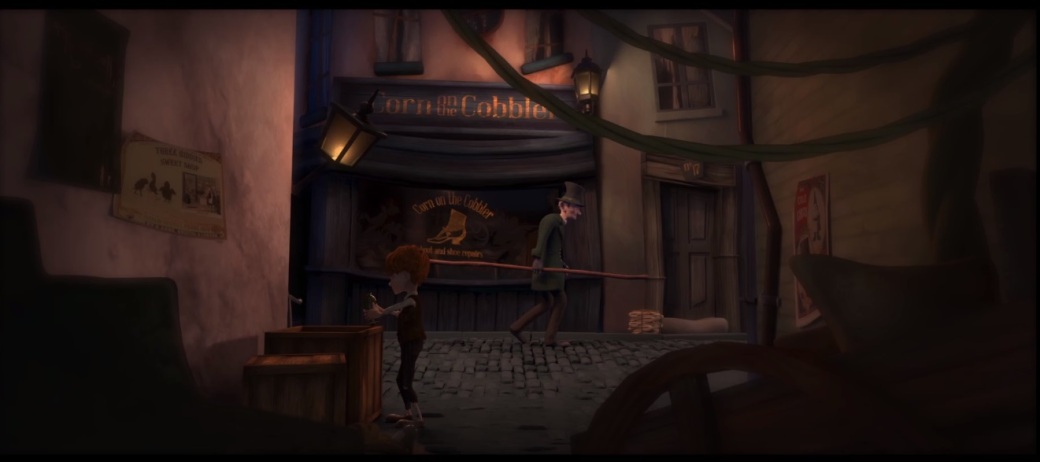
Final Character and Background Lighting

Final Character and Environment Lighting
SQ04

Rachel’s Initial Setup for SQ04
Within SQ04, I had two skies; one on either end. Rachel showed me how to place a lattice on houses to change their shape to suit the hill. This scene was the largest file to work on, so it came with a lot of issues such as the ground not showing up in certain areas and it was difficult to keep loading. I did consider splitting the scene up into two backgrounds, but I managed to continue working on it. I wanted a very warm feeling within this scene, as it is where the characters first interact with each other.
House Layout and lighting progression
Prop Layout
When placing props, I stuck to our animatic and focused on where the characters would be and filling in empty gaps. I tended to place Greta’s milk bottles that I textured and the newspapers/signs next to the houses and shops. I also placed Rachel’s rope and hanging cloth in between the houses to make the town seem more livable and realistic.

Character Lighting
I tried to keep the character’s quite warm with peach and orange lighting and placed Rachel’s wall lamp on the house above them in the scene where they interact with each other. I also placed a huge blue area light above them to represent the moonlight from above.
One of our initial problems was a mistake of my own. I didn’t realise that the character’s faces had recieve shadows turned off, as you can see the difference below. The impact is huge. Recieve cast shadows turned off vs on (left to right below).
Some Final SQ04 Renders
Although I lit both the characters and backgrounds, Rachel comped them together in after effects and added depth of field within it too to help the characters stand out more.
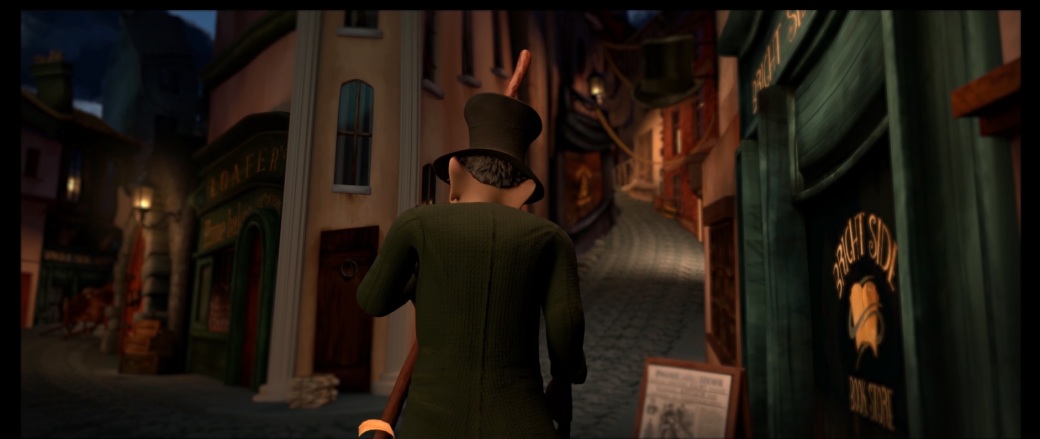


Some Final Background and Character Lighting and Setups
SQ06
Rachel’s initial setup for SQ06 and SQ07:
I had to switch in a few different houses for sc26 for Walter to be seen as it was an awkward angle:
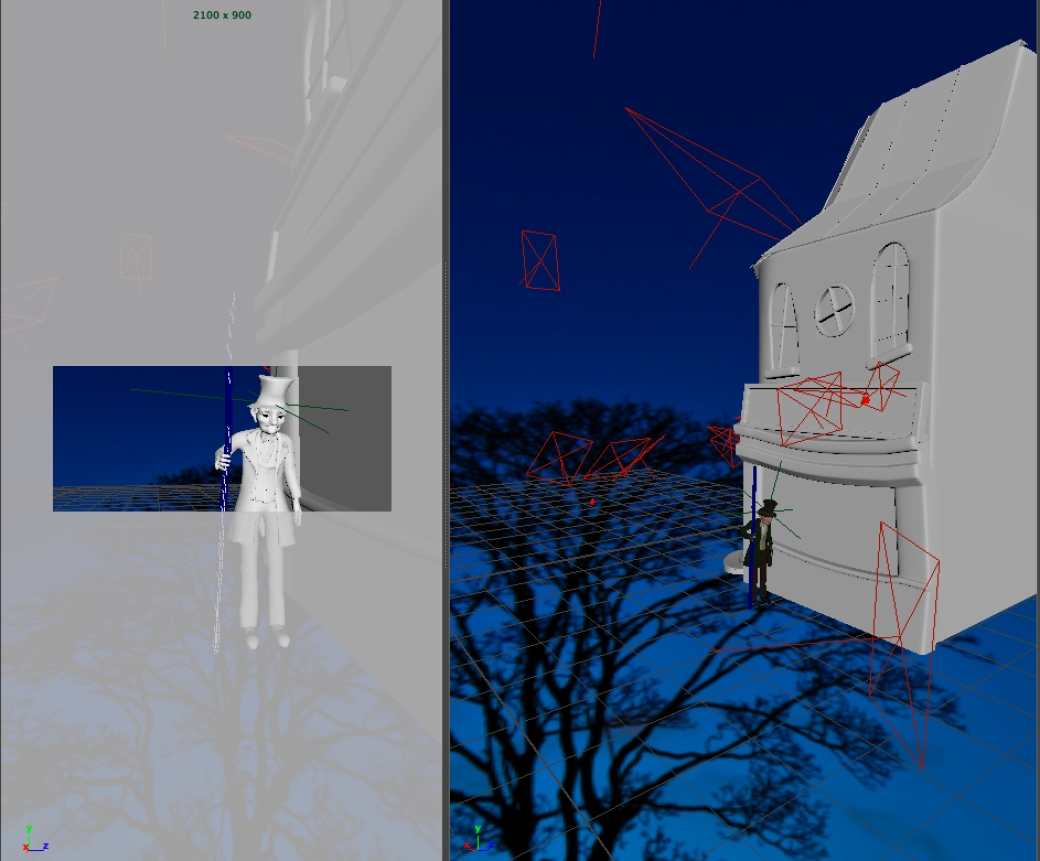
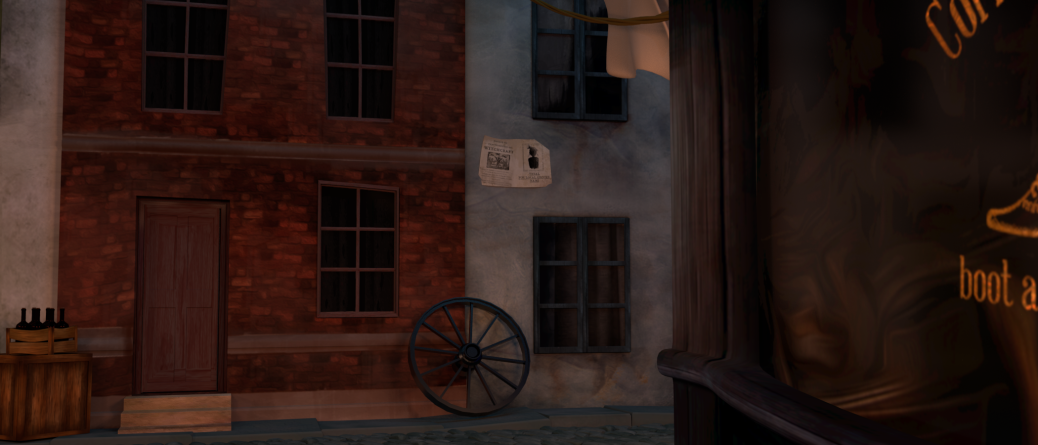
Resulting Background Render SC26

Final Character and Background Lighting and Edited Render
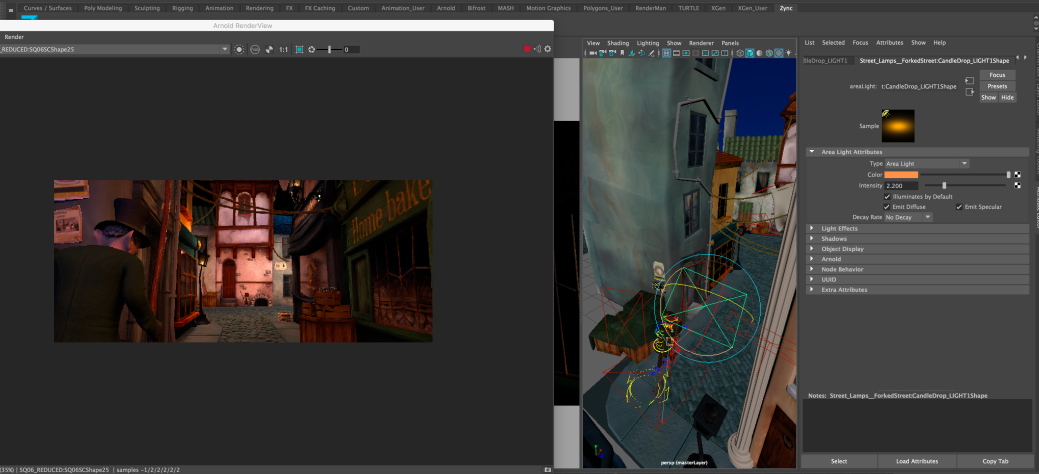
Light Setup for SQ06
What I enjoyed about working on this setup, was the influence of Wes Anderson and symmetry. I used the imbalance of the posters on once side against the shop on the right to lead us towards the rope framing the house on either side:

Leading Parallel Lines like Wez Anderson and using the ropes to frame the window

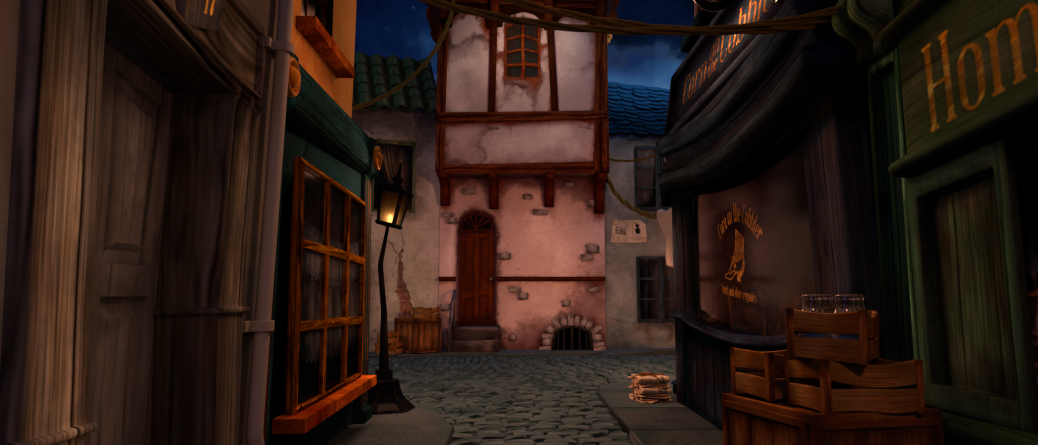
Final Background Lighting and Prop Layout
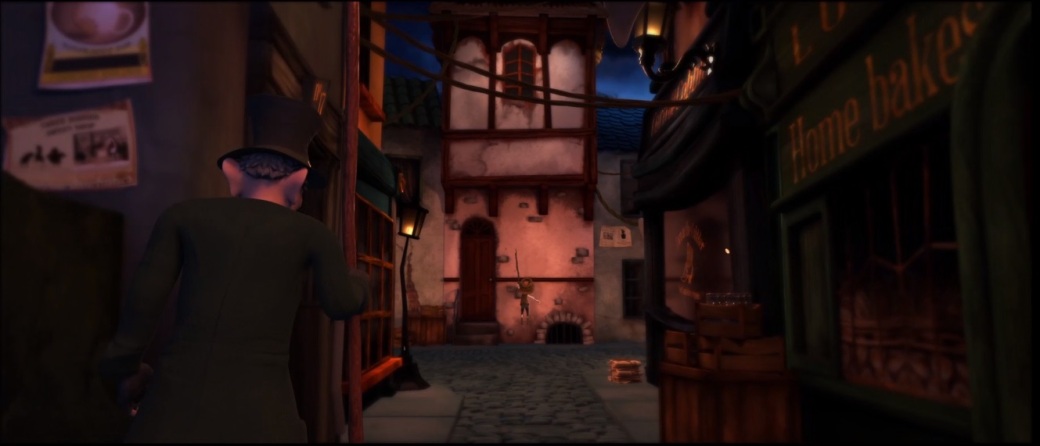
Final Background and Character Lighting and Edit
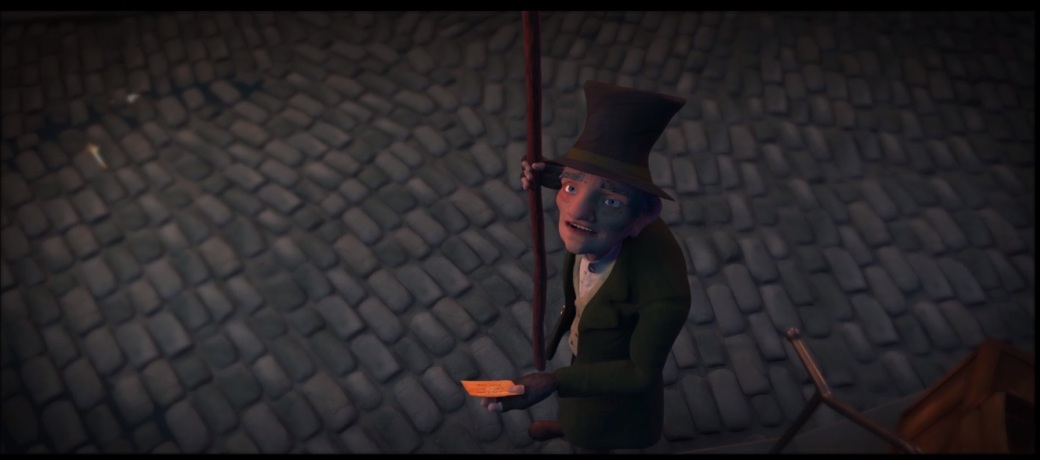
I tried to keep this lighting quite cool to contrast the time passing for the next shot. Rachel added a lovely vignette and depth of field to keep the focus on the character.
SQ07
I used my painted sunrise sky for this scene and a warmer hdr to achieve the look of a sunrise. It was also quite difficult to achieve the shadow on the final house. As seen below, I stretched a building within the scene to create a casting shadow and placed some random chimney pots above it. What created such a clear shadow were the two spotlights from behind. I also added some more peach lights against the rooftops on either side of the main building.
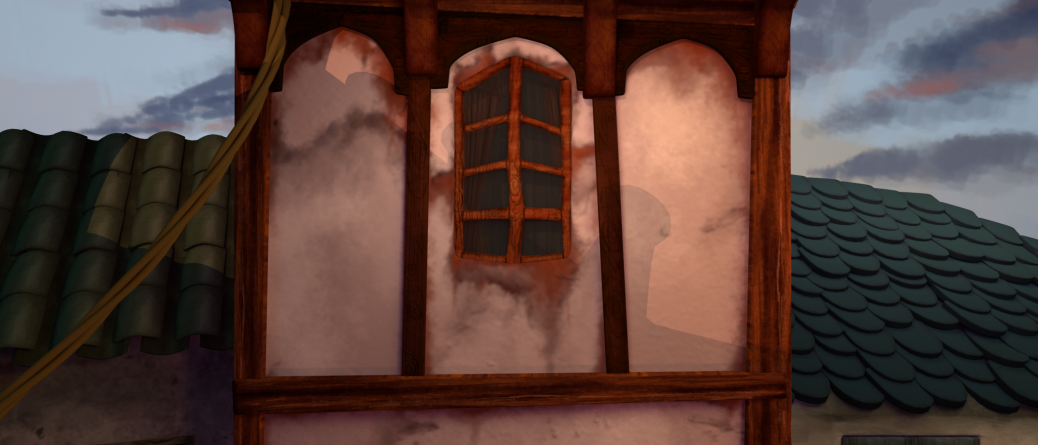

Final Background Lighting for SQ07 (Sunrise Lighting)

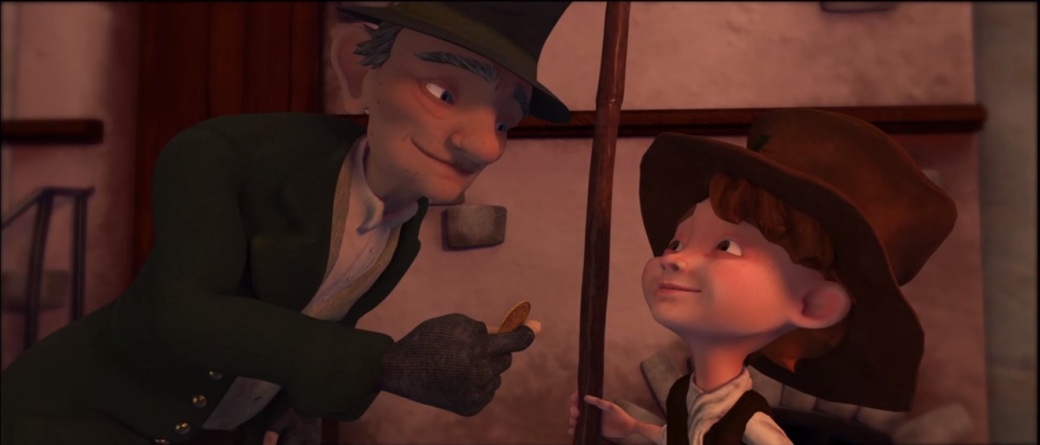
Some character lighting for SQ07


