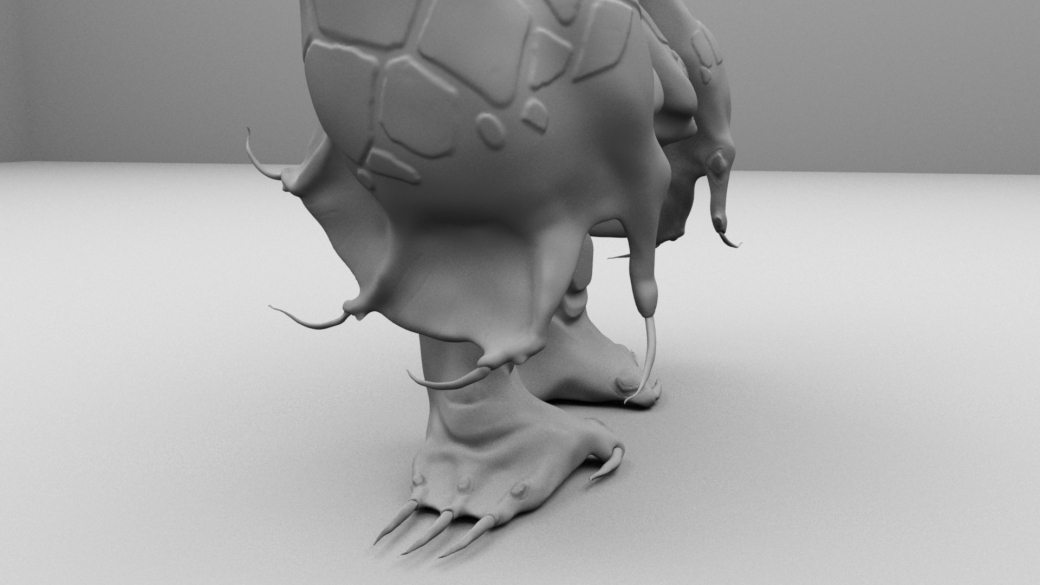
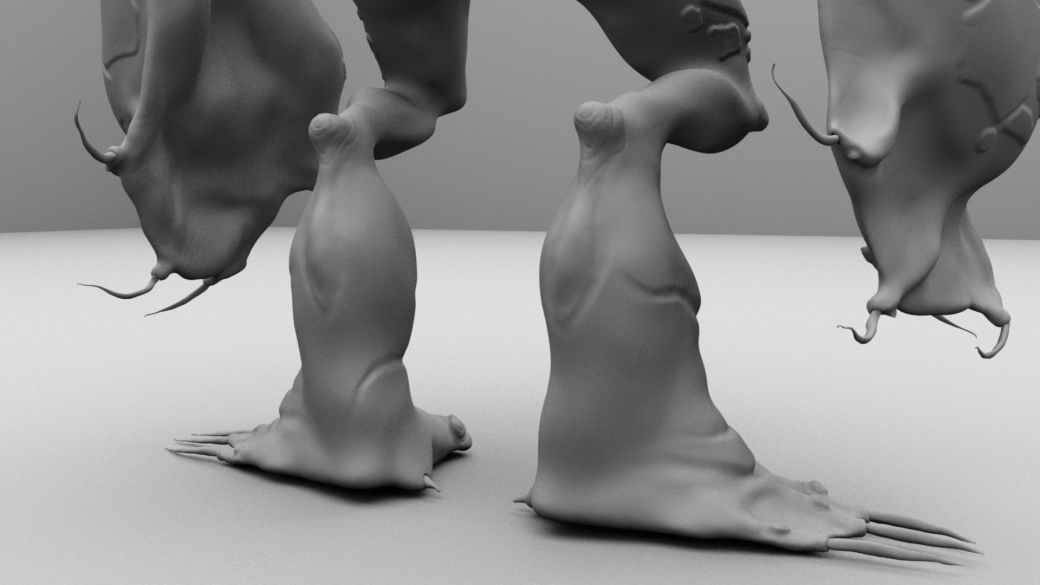
Rendered Sculpture

I brought my sculpt into Maya quickly and used ambient occlusion to set up nicer renders:

final_occlusion_001.jpgfinal_occlusion_003.jpgfinal_occlusion_002.jpg

Closer up detail. I tried to include some carvings into it like in Nicholas Kole’s concept into the knuckles and knees using the damian standard brush on zsub option:

final_occlusion_004.jpgfinal_occlusion_007.jpgfinal_occlusion_005.jpgfinal_occlusion_006.jpgfinal_occlusion_008

Retopologising in Zbrush

Looking at this already makes me hope to try it out before hand in but I really don’t think I’ll have the time. I can try it out after. You can literally draw where you want the topology lines to flow using the zremesher option. I hope it will work!


I want to then try projecting the detail of my model on the low poly mesh. I’ve had some experience doing this in a previous tutorial but this one might help as well.

Retopologising in Maya

So we were taught how to do some retolopogy in class with Alec. He gave us these images to study where the lines go.

Tips on what I did:

  • Make object live- select in object mode, click magnet.
  • Use quad draw tool- select points, shit select to draw the quads.
  • Control shift deletes them.

This is how I started:

retopologising.jpg


I also created a pinterest board for some topology to go back to my model to retopologise it:

Adding detail to the Sculpt

I mostly used masking and deformation options to create the detail that I added:

hermit_creature_012.gifhermit_creature_013.gifhermit_creature_014.gif

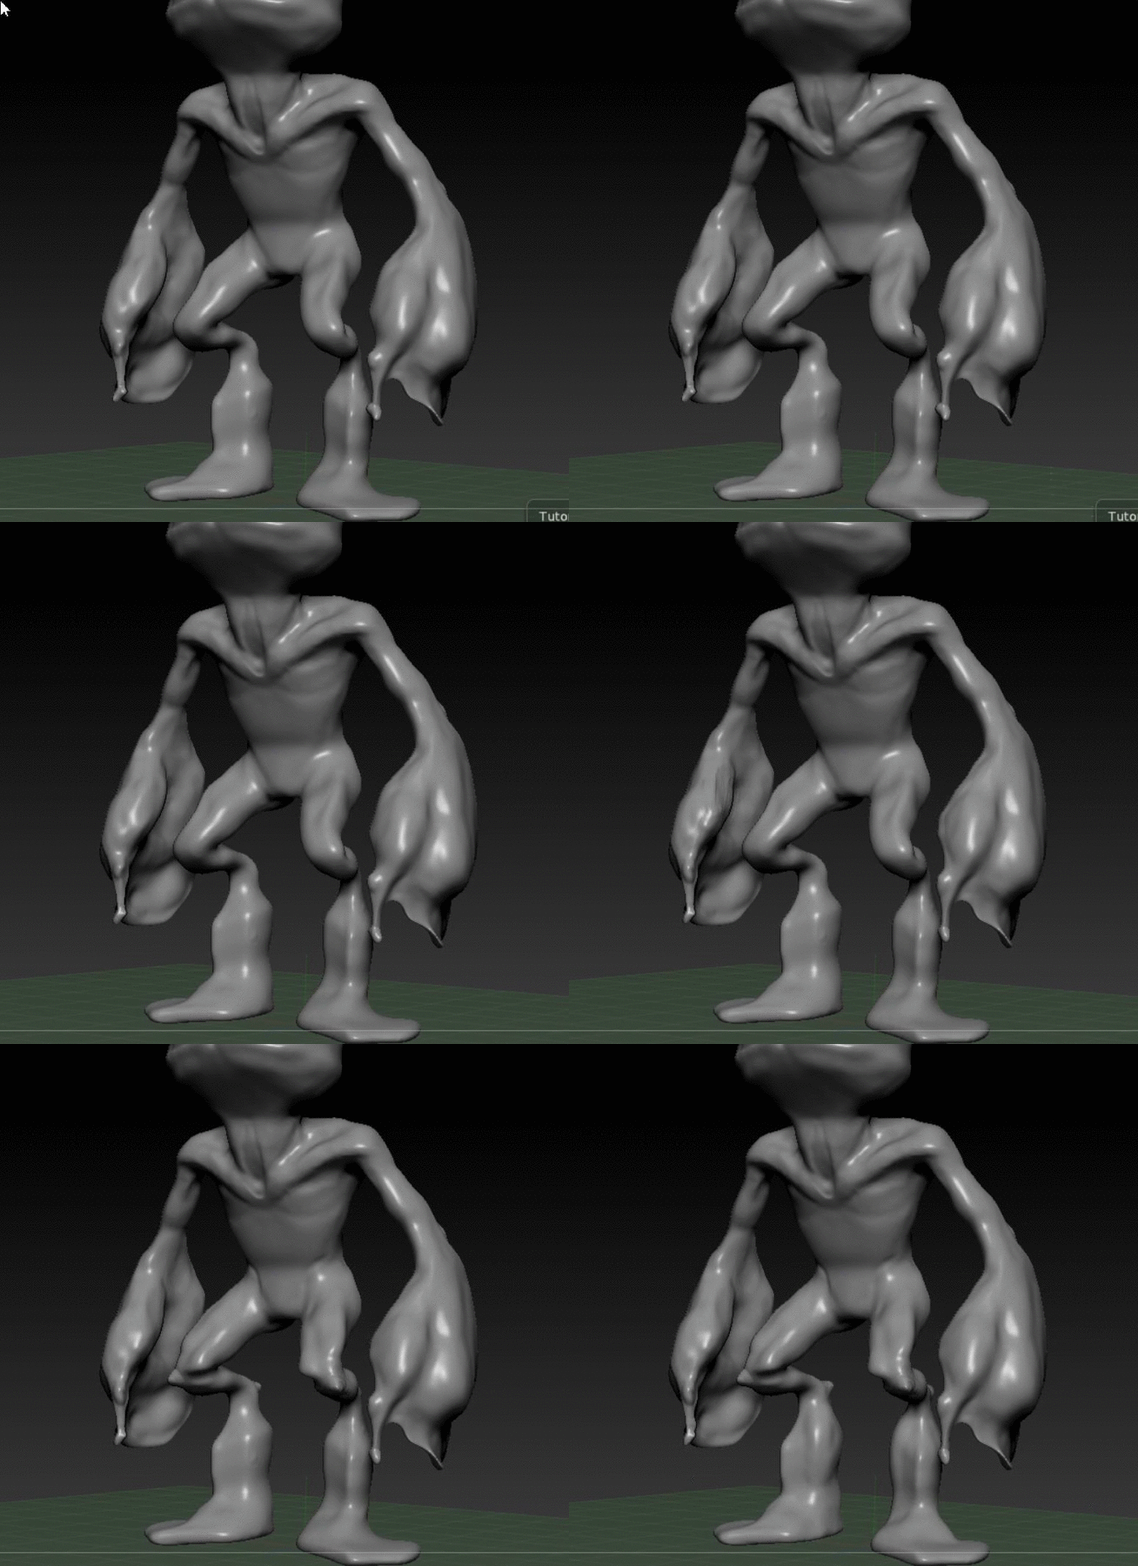
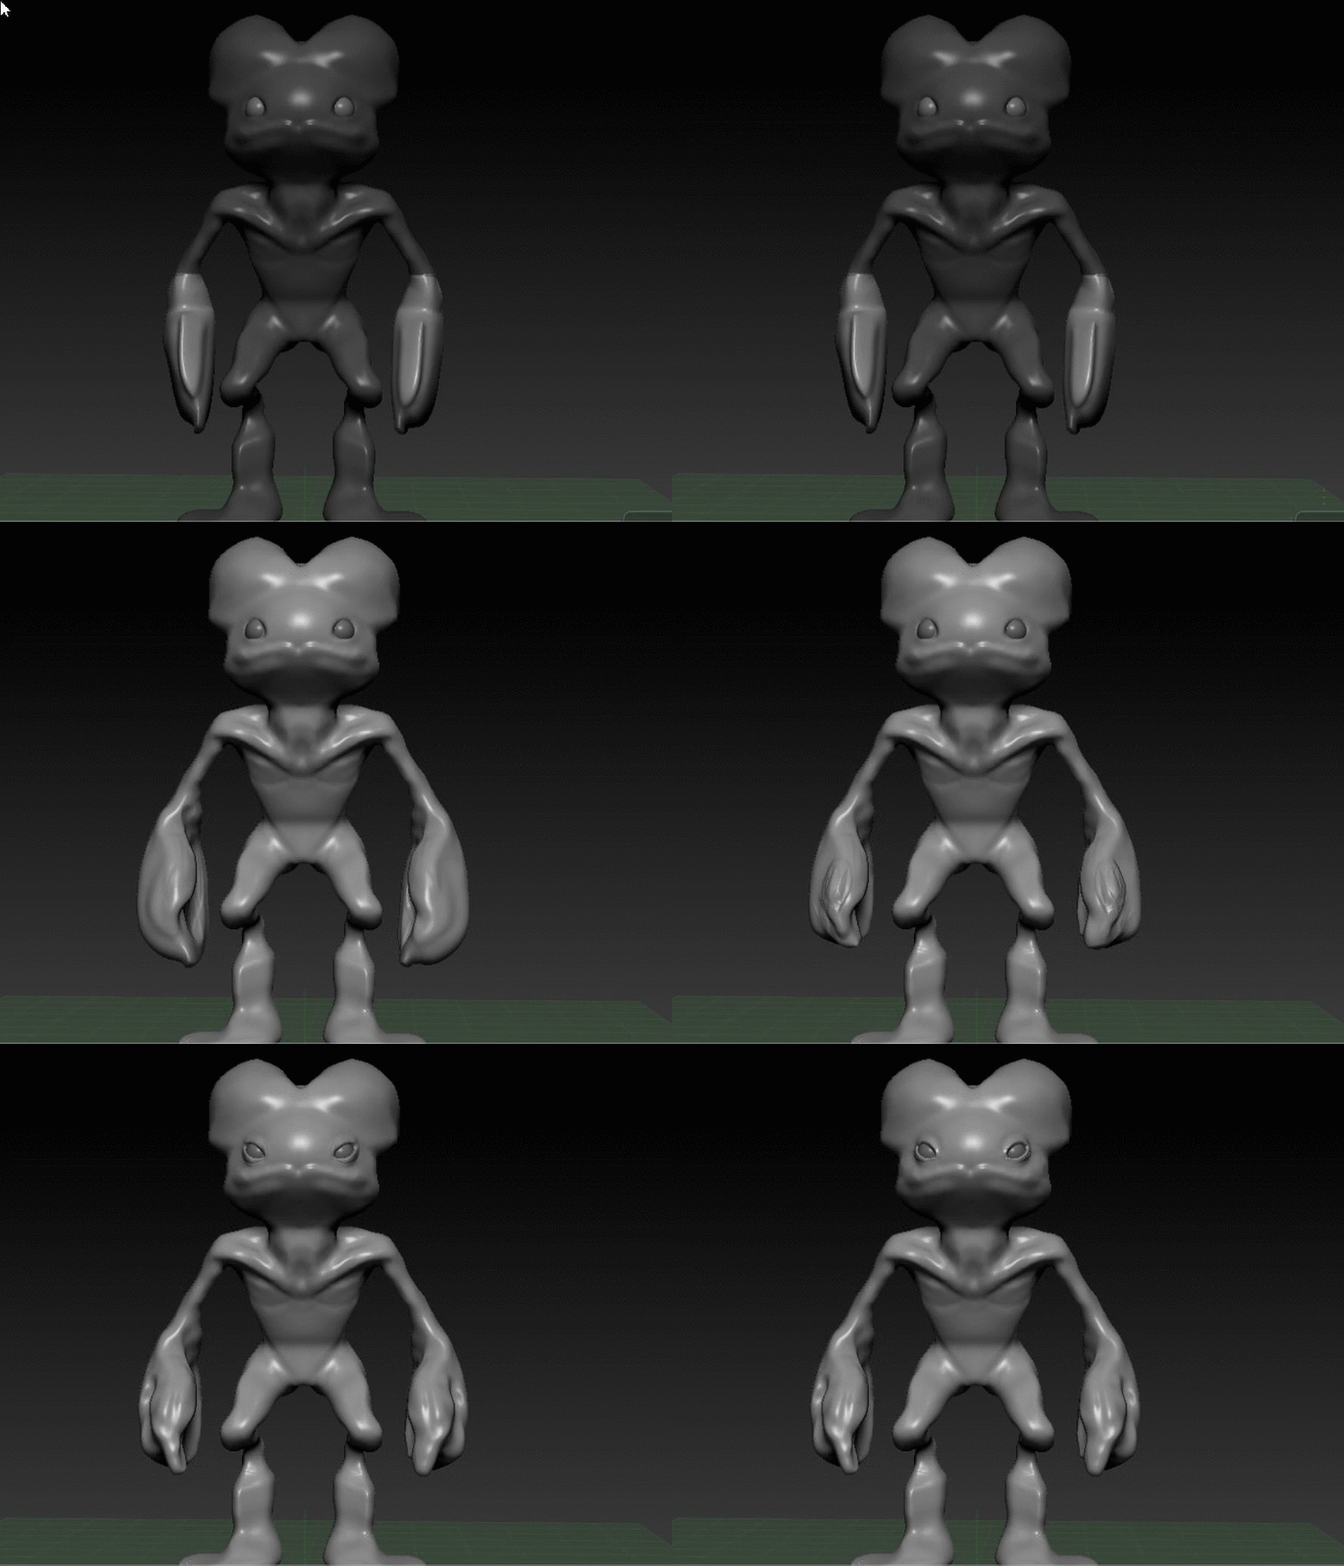
Some progress shots:


Problems with the Mesh

I came across problems with the hands. I had carved into them too mush so the geometry got so thin that holes started forming. Little did I know that there was a simple solution:

  • Using inflate over the holes
  • Re projecting dynamesh
  • Using smooth over them
  • Repeat until solid

holesinmesh.jpg

holesinmesh1.jpg


Modelling the Hermit Creature

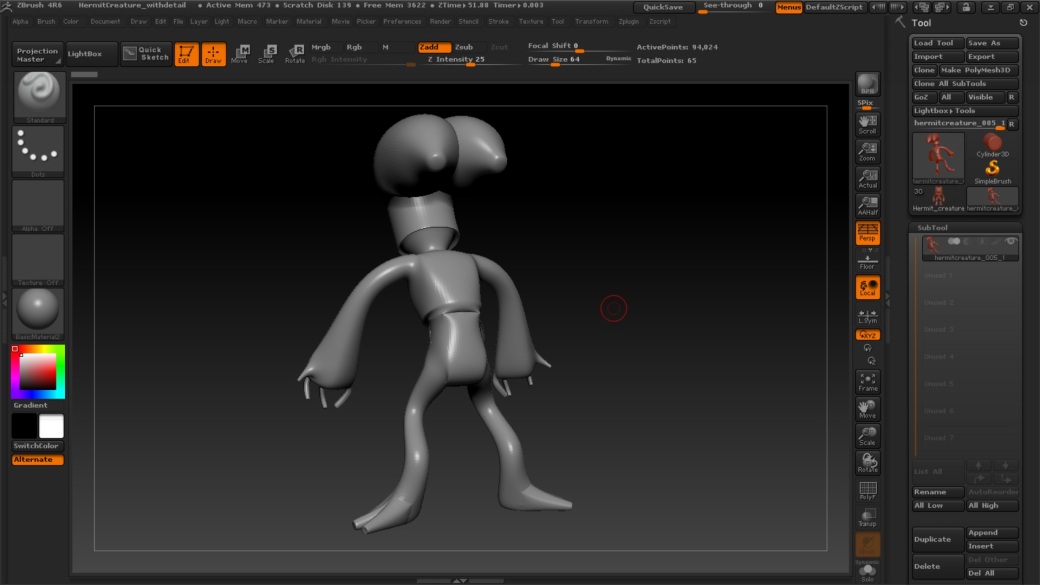
Making the base in Maya. This looks so disgusting but hopefully I can fix it up in ZBrush:

WIP_001.jpgWIP_002.jpgWIP_003.jpg

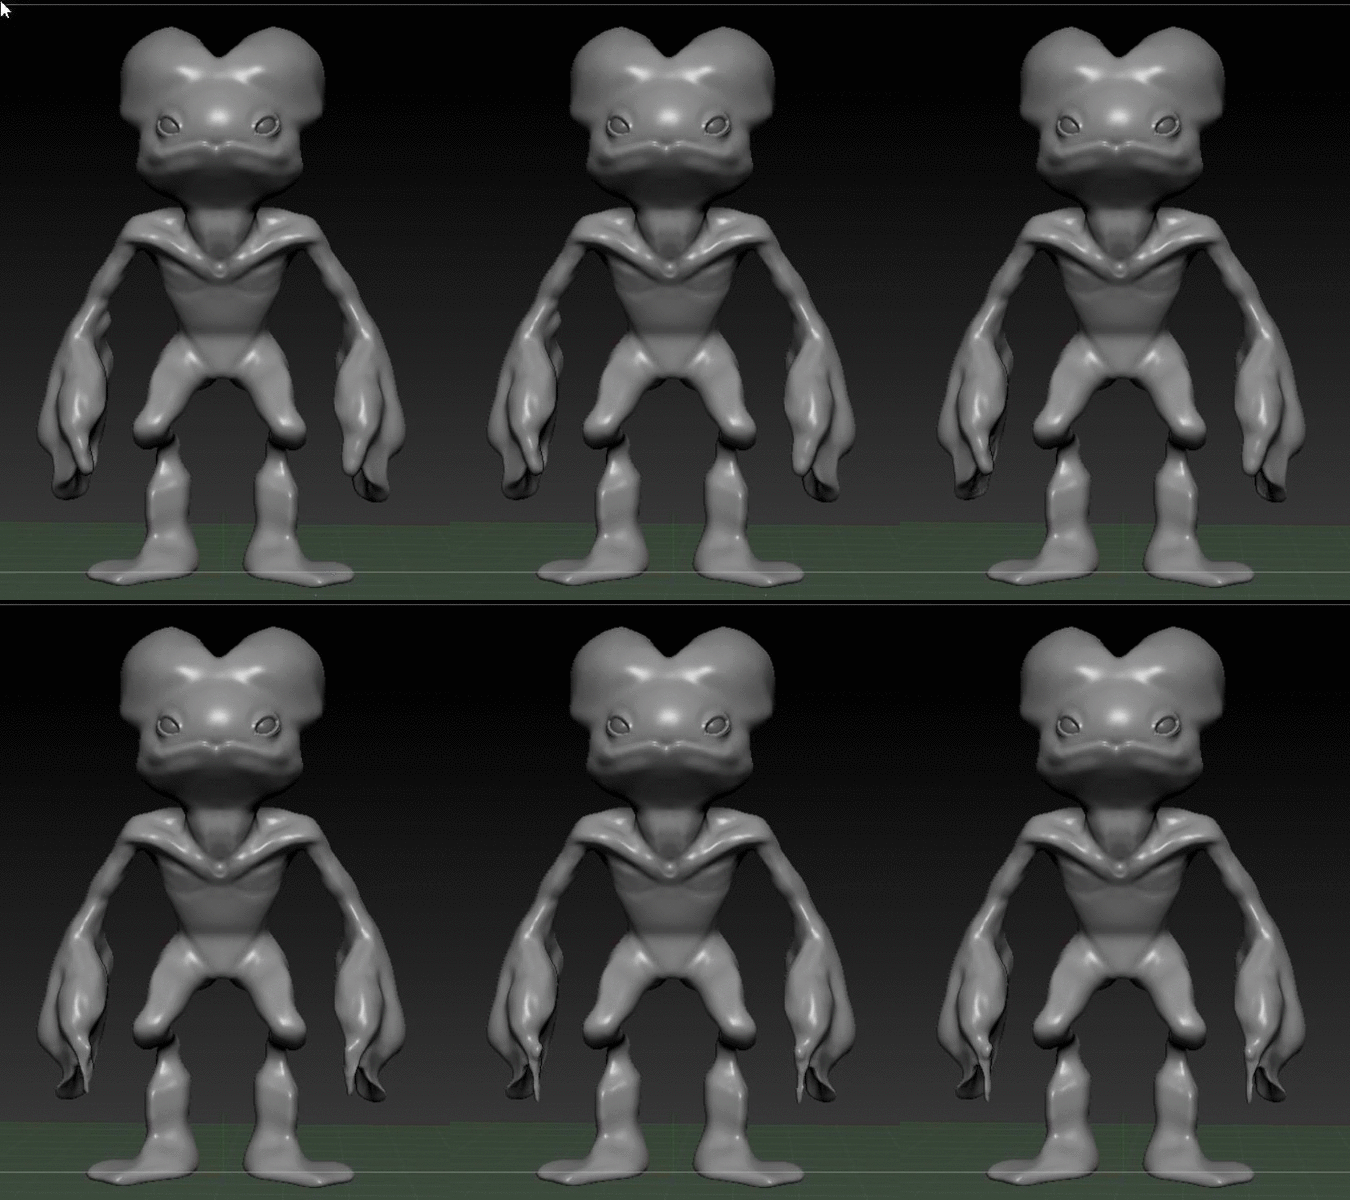
Some gifs I created to show progress after bringing the model into ZBrush using the GoZ option.

hermit_creature_001.gifhermit_creature_002.gifhermit_creature_003.gif

The shape still wasn’t right so I had to mask areas, move parts, re project dynamesh and smooth out areas continuously until the silhouette of the character fitted more with the concept.

hermit_creature_004.gif

I added the eyes as a simple subtool and had to fix up the huge hands!

hermit_creature_005.gif

hermit_creature_006.gif

It was fairly awkward reshaping the fingers and drawing this out. It took quite a while before the model starting coming together.

hermit_creature_007.gif

hermit_creature_008.gif

I made up a little back design to add something extra to the sculpt.

hermit_creature_009.gif

All of the nails were separate subtools. I created one tooth, duplicated, fixed up and eventually brought them down to the feet and hands. They took so long to move into each place! I also started to sculpt out and use dynamesh for the little flaps on the head.

hermit_creature_010.gif

Some progress images:


Making the Orb

I modelled two simple half spheres in maya and extruded them inwards. I then used the GoZ tool to bring them in as a subtool into maya.

I used the masking and deformation settings to inflate the designs inwards.

orb_001.gif

orb_002.gif

I created some little texture marks on the insets and used the damian standard brush to create more lines around these. I also used some vein like alpha channels to add more texture. I used the rotational symmetry tool to create more designs with aplha channels and with the damian standard brush. It was really fun and quick.

orb_003.gif

I knew that creating the orb in zbrush would be good. I tried to stick with the deformation options to change the shape as its a lot easier to control than the regular options in the workspace. I also thought it was very good to learn how to do some hard surface modelling using the flatten brush and cutting pieces away.

orb_004.gif

Another part of the design on the inside was created in maya and brought back into zbrush as a subtool using the GoZ option. It’s so handy.

gem_001.jpg

I reduced the topology of the mesh by creating a duplicate and projecting the high quality mesh onto the lower one. I lost some detail but this should be good for bringing my creature into maya.

gem_002.jpg

Digital Tutors: Asset Pipeline in Maya and ZBrush

Notes I created from the tutorial:
Introduction

Making an Orb- Similar to the one in guardians of the galaxy…it will let me use hard and soft surface modelling in zbrush and learn more techniques.

  • More square polygons make the object cleaner when you go to subdivide it in zbrush.
  • How to grow a selection: select a row of polygons, hit shift and period (.)
  • When duplicating faces, shift p (unparent) out of the outliner so that it becomes it’s own shape.
  • Shouldn’t have poles where you are sculpting on as they keep converging into points when you subdivide.

Transferring Geometry to ZBrush

  • Add edge loops to the model if it is hard surface and bake these onto the model.
  • Delete history, name objects.
  • Can export as obj or fbx.
  • Install GoZ into maya from ZBrush from preferences in ZBrush.
  • Import as obj- Select the Polymesh3D tool (The 6 pointed star). Then, under inventory you will have the option for import.
  • Ctrl d subdivides mesh.

Using Masking to Structure Outer Shell

  • Using masking as a template of where we want areas to be pushed in- turning focal shift down makes brush sharper. Use Ctrl to draw out shapes. Ctrl alt to remove any of this.
  • Invert mask- tools, masking, inverse or Ctrl click outside mesh.
  • Go to deformation. Inflate.
  • Unmask- Ctrl, drag.
  • Smooth areas, shift, select over.

Detailing the Outer Shell

  • Grab Damian standard brush. Select zsub. Go to stroke, turn on lazymouse and increase lady radius to have more control.
  • Zadd adds detail to the rest.

Using Noise to Detail the Shell

  • Use claybuild up, zsub and carve into the lower areas.
  • Noise tool. Play around.
  • Move the noise curve to change how the noise looks. Hit ok and apply to mesh whenever you want to bake it/keep it.
  • Can also use alphas to add cracks etc

alphapic.jpg
Sculpting With Radial Symmetry

  • Transform, symmetry, hit r while using whatever alpha channel to carve in detail etc. Change axis to what you need.
  • Can mask with radial symmetry.

Adding New Geometry With Maya

  • Freeze transformation on new geo, ctrl g to put into a new group. Axis is centred now to duplicate around circle.
  • Make all into one object (combine), delete history.
  • If using GoZ, make sure import as subtool is selected in zbrush under GoZ preferences.
  • Go to subtools and load tool to bring into the scene as an extra add-on.
  • Apparently you can also use ma file from maya to import into ZBrush.

Creating the Gem in ZBrush

  • Under subtool, click append and sphere 3D. Select subtool and go to deformation to resize etc. Can size it up in one axis.
  • When moving objects in zbrush, hold down shift to stay to one direction.
  • Transform, solo to isolate object.
  • Use trim curve brush to make harder edges.
  • Its a modifier brush so you need to select ctrl, shift to activate it.
  • Go to geometry and delete lower levels.
  • Planar cut will also work for creating hard edges.
  • Unsolo object, click eyes for other objects under subtools so you can’t see them, duplicate gem, click on duplicate and go to zremesher under geometry. Number under polycount is in 1000s. Leave at 5. Click zremesher.
  • Shift, f to show wireframe mode.
  • Add subdivisions to sharp one, now project high res onto lower so select low res.
  • Project under subtool, distance 0.1, project all. Delete higher res.
  • Only remesh when no symmetry is on!!!!!

To bring back into maya make sure you have remeshed it in zbrush and use GoZ tool.

Painting the Objects

  • Fill with basic colour. Select subtool, select colour, go to colour and select fill object with RGB selected.
  • Select standard brush, click colour stroke and turn off symmetry. Turn off sculpting and turn on RGB. Can change alpha channel to change the spray.
  • Can change settings in colour spray.
  • Masking, mask by cavity. It masks all the inner parts of the sculpt. Can change the blur and intensity. Add lighter colour to the rest by filling the object. Invert the mask and fill with darker colour.

Creating a UV Layout

  • Can create UVs in Maya and import back into Zbrush.
  • Take a subtool, bring it down to lowest subdivisions.
  • Turn on polyframe, Shift F
  • Make polygroups by normals- this will group together polys facing in the similar direction.
  • Ctrl, Shift, click these to see where it has placed them.
  • With it selected go to ZPlugin, UV Master, click polygroups. Click unwrap.
  • Go to texture map. Select new from UV map.
  • Turn off UVs and bring subdivisions back up.
  • Do same thing with other parts.
  • Now use UVs to create texture maps and normal maps.

orb----1.jpg

orb----2.jpg

Creating and Outputting Maps

  • Creating the maps we need to get back into maya. You need colour, texture and normal maps.
  • Create new from polypaint on rings. Creates texture based on polypainting. To export this, clone texture, go to texture palette and you’ll see it. Flip vertically then export.
  • Normal maps: Go to level we plan on exporting it out. Level 4 or 5. Go to normal map, leave default settings, create map.
  • If the objects arent at the lowest level, delete the lowest level.
  • SEND BACK TO MAYA. Rename all. Select all beside GoZ.
  • Select hardware texturing

orb----3.jpg

Reassembling Geometry in Maya

  • Can export as obj and just retopologise.
  • Soften normals in maya.

Zbrush Experimenting

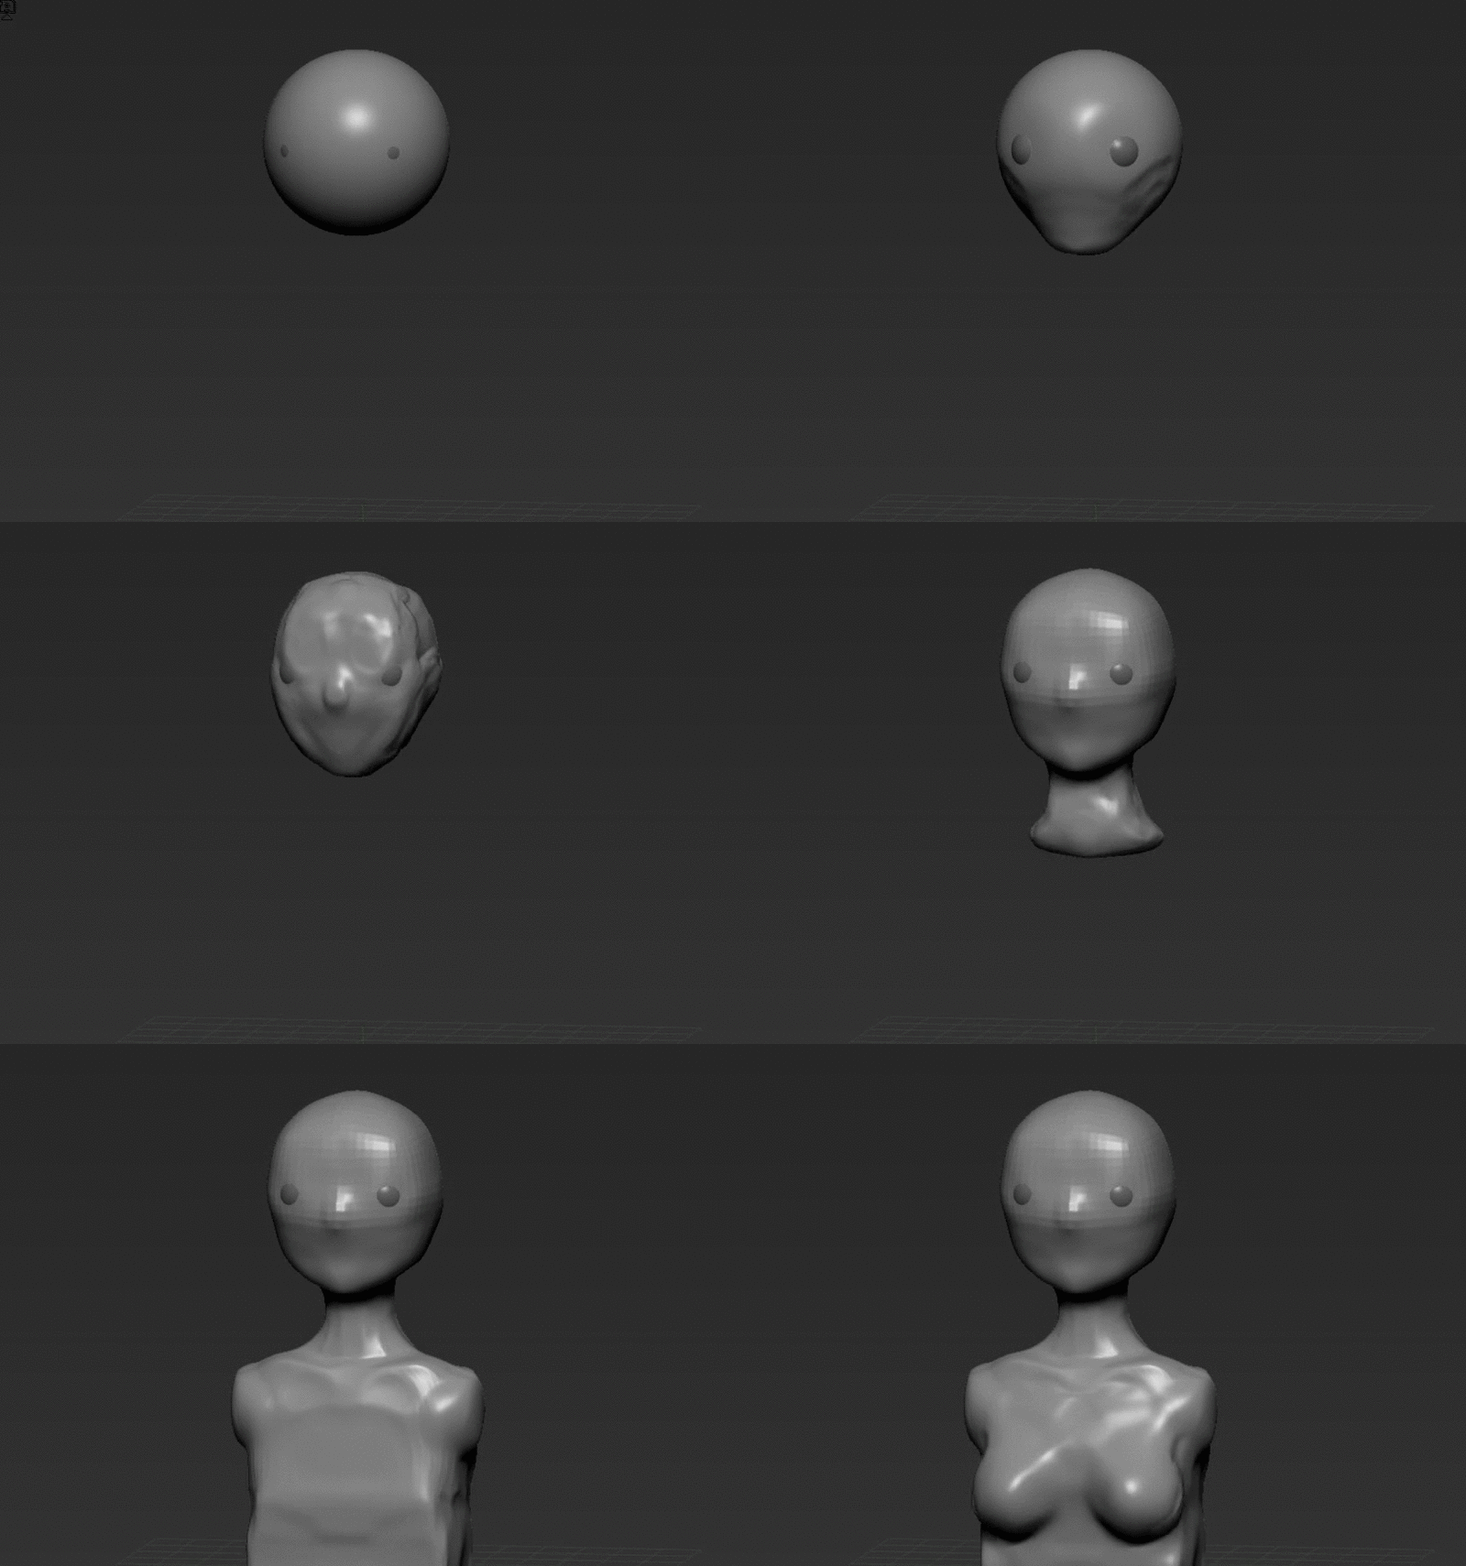
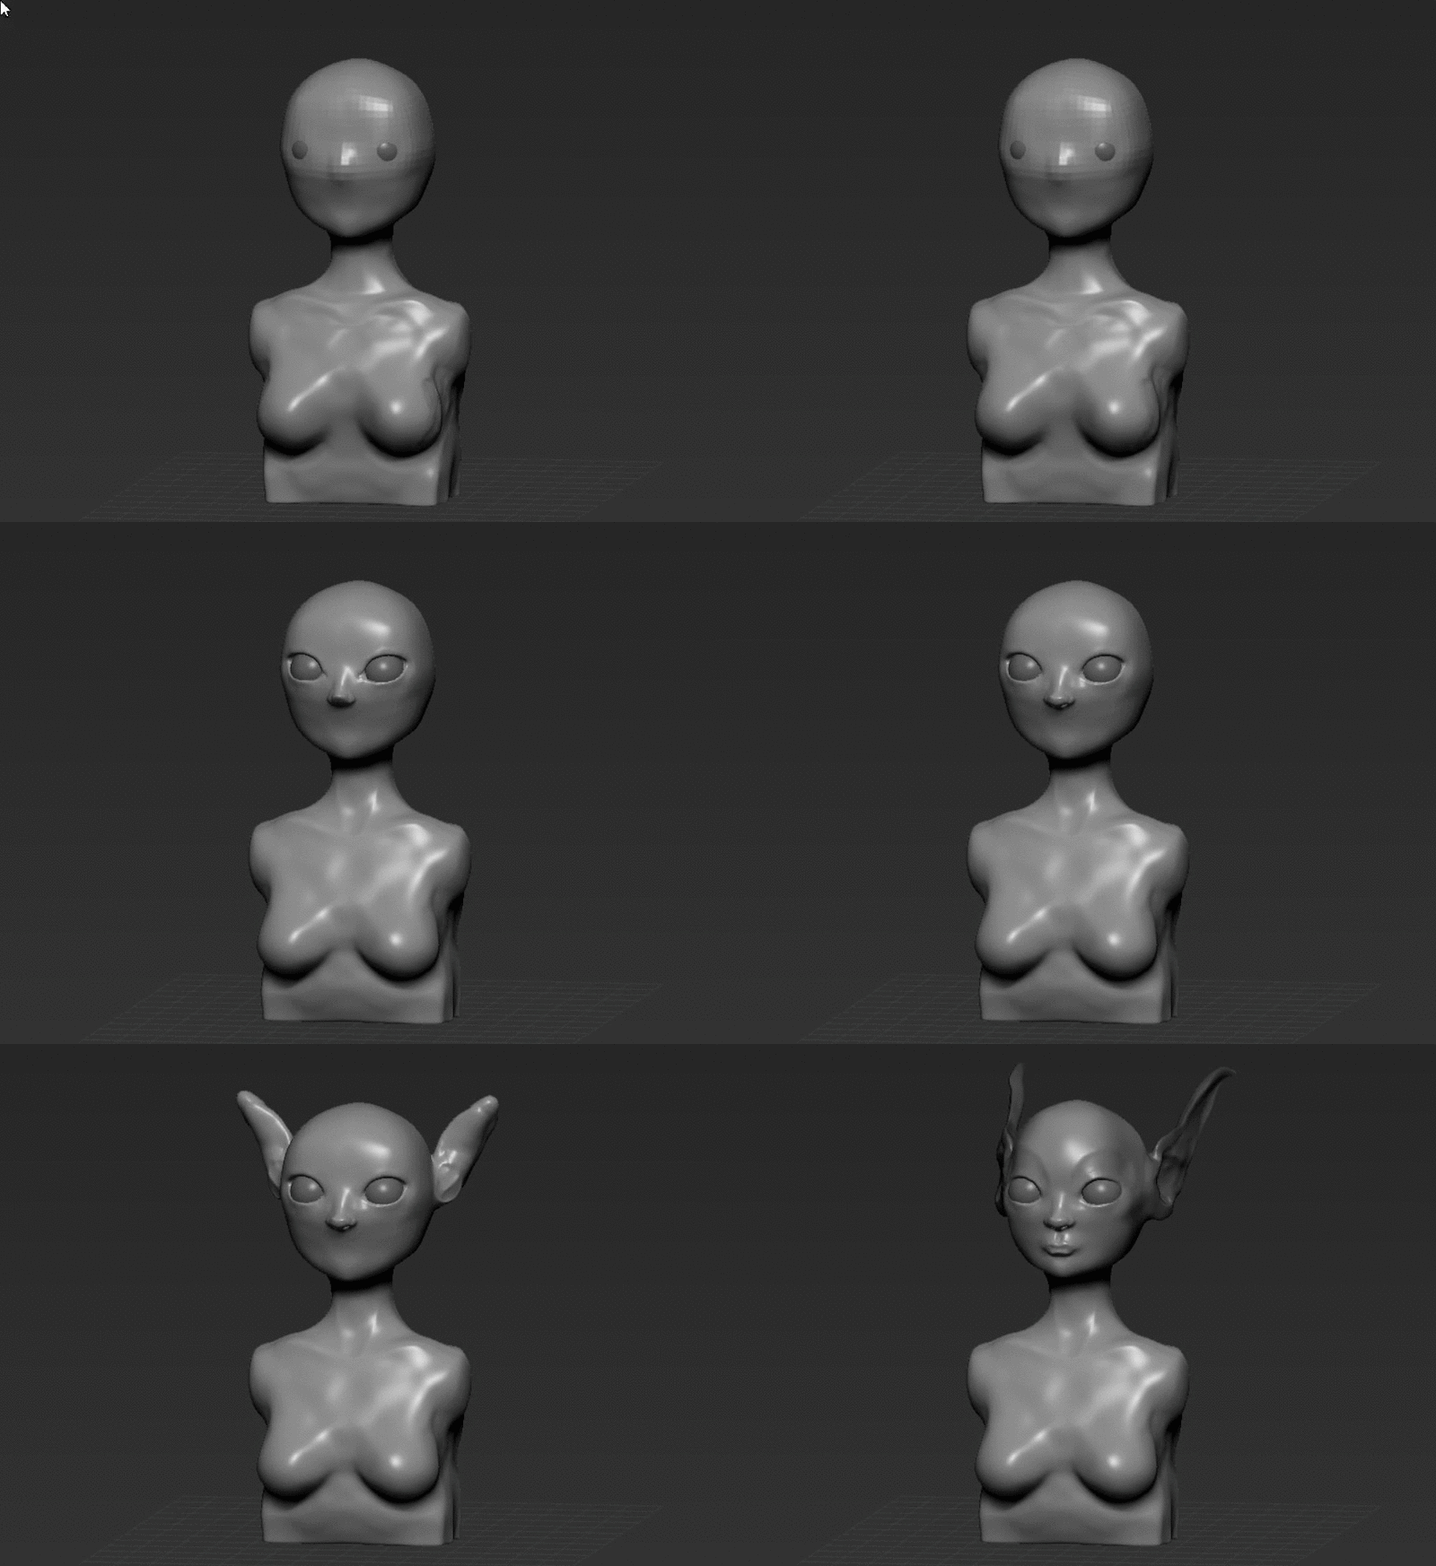
I tried out a little random experiment. I used subtools and merged the two together.

Here are some little progress gifs I created. I should download a screen recording device, but I love that you can see progress along the bar above the workspace within zbrush.

girl_001.gifgirl_002.gif

girl_003.gif

Some captured images. I’d love to finish this off sometime:

Digital Tutors: First Day In Zbrush

I started looking at this tutorial for zbrush to see if I would enjoy it as ZBrush seems to be a lot more popular in the industry than mudbox for sculpting.

Creating Geometry from ZSpheres

  • Tool Menu- S (simple brush), click zsphere and click and drag into the work area.
  • Hit T to edit it.
  • Move pen around the outside of the geometry to move it around.
  • Hold alt to pan around.
  • Hold Alt with pen down and release to zoom in and out.
  • Can press floor and persp button to help.
  • Press transform, symmetry in x-axis.
  • Create new zspheres. Move these clicking the move tool. Create more with draw.
  • Shift, drag pen to frame to axis- snaps grid rotation.
  • Always save work through the tool palette.

Adding Features with Dynamesh

  • To see the geo created from zspheres hit A key.
  • Go to adaptive skin tool settings- tool palette- adaptive skin, can change density.
  • To make geo select [make adaptive skin]
  • Save as ztool or project.
  • Go to geometry tool, turn off project.
  • Turn resolution down and turn on dynamesh.
  • Hold shift to smooth brush strokes.

I ended up ditching the tutorial because I was having loads of problems with the zspheres.

firstdayzbrush_001.jpgfirstdayzbrush_002.jpg

When I smoothed the zspheres, some parts caved in and other parts stuck out. I should really give them another chance sometime as they could be easier to use than maya for a base mesh.

firstdayzbrush_004.jpgfirstdayzbrush_005.jpg